Guideline: set up a plugin chat Messenger on your web site

Chat plugin facebook

Chat Plugin is a free chat extension that you can install on your website to enable messaging.

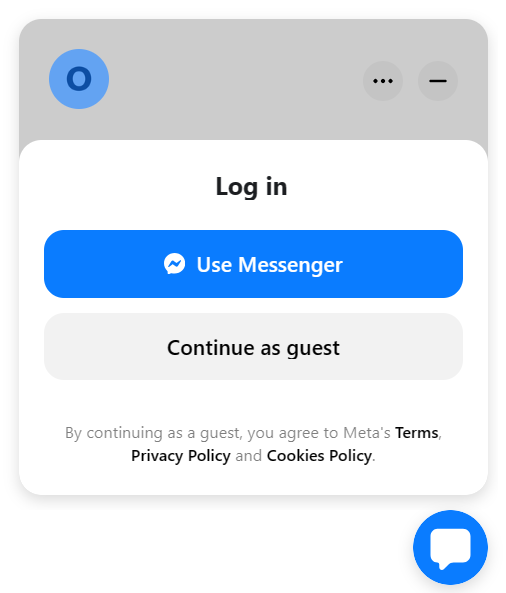
When people visit your website and click on the chat button, it will send them directly into a Messenger conversation to chat with your business. If people are logged in to their Facebook accounts, the conversations will be saved in Messenger. Otherwise, they can message you as a guest user.

There are two parts to complete the installation. First, you will set up Chat Plugin from your Facebook Page, then you will add the code for the plugin into your website.

  • Step 1: have a Facebook Business Page associated with your website. If you don’t have one, create a new page on Facebook.
  • Step 2: Set up Chat Plugin from your Facebook Page
    • Go to your Page’s Settings and click Messaging.
    • Under Add Messenger to your website, click Get started.
    • From here you can select your language, add your website domain(s) and copy the code to paste on your website.
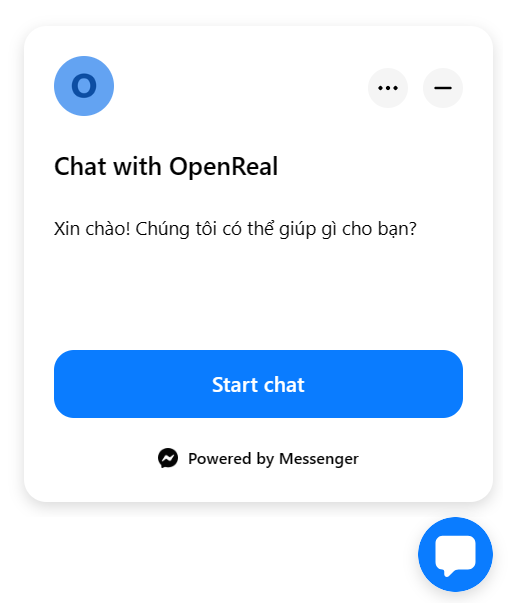
    • Under Start a conversation, you can create a welcome message and add automated responses for frequently asked questions.
    • Under Customize your Chat Plugin options, you can customize the color, alignment and expansion settings.

Cover photo guideline on facebook

Cover photo facebook
  • Dimension:
    • Desktop: 851 px wide  x 315 px tall.
    • Mobile: 640 px wide x 360 px tall.
    • If your uploaded image is smaller than these dimensions, Facebook will stretch it to fit, making it appear blurry
  • Size: photos should be less than 100KB
  • Guideline:
    • Use a unique image that represents your Page, like a popular menu item, album artwork or a picture of people using your product.
    • Be creative and experiment with images to see what your audience responds to best.
    • Review the dimensions for cover photos before uploading a photo.
    • Make sure that your cover photo follows the Pages Terms. Cover photos can’t be deceptive, misleading or infringe on anyone’s copyright.
  • To add or change your Page’s cover photo:
    • Log into Facebook, then click your profile photo in the top right.
    • Click See all profiles, then select the Page you want to switch into.
    • Click your Page name in the left menu to go to it.
    • Click Edit cover photo in the bottom right of your Page’s cover photo.
    • Click Upload Photo to upload a photo from your computer. You can also click Select Photo to use a photo you’ve already uploaded to your Page.
    • After choosing a photo, click the photo and drag it up or down to reposition it.
    • Click Save changes.

Download Cover Photo template here

Note: Classic pages on facebook are updating to the new Pages experience. It has the same features to manage your professional presence, build your brand or business, grow your audience and connect with followers. Your content, insights, ads, Likes and followers will automatically transfer when your Page updates.